
If you love bling, we’ve got just the thing for you. Create your own henna jewelry with our easy-to-use stencils. You’ll get perfect henna rings on all your fingers and toes.
Henna Ring Kit
At Mihenna, we like to make things as easy and as beautiful as possible. If it’s your first time using henna, you don’t have to worry - we’ve created a smudge-proof method to get you flawless henna rings for beginners and artists alike. We’ve bundled everything you need into one all-inclusive henna tattoo kit. The Ring Henna Kit will keep you stylish for weeks while also saving you time and mess. Here’s what’s in your box:
- Ready-to-use, organic henna cone
- Coconut oil for after care
- Illustrated, step-by-step instructions
- 8 adhesive henna stencils featuring various ring designs
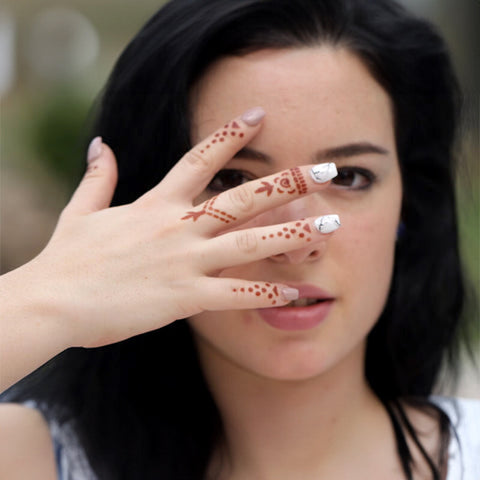
How to Apply Henna Rings
Everyone should be able to share in the beauty of henna art. That’s why we’ve created a process that’s easy to do and still get fabulous looking results. Follow these steps to create your henna rings with Mihenna.
- Defrost. If you’ve been storing your henna cone in the freezer (a great idea to help it last longer), place it at room temperature about a half hour before you start applying.
- Prep. Set up a flat, clean surface and put away anything you don’t want to accidentally stain with henna (if you do though, check out our tips for henna removal). Collect a pair of scissors and a paper towel or two.
- Cleanse. Wash your hands thoroughly to remove any oils or lotions that would prevent the henna from properly staining your skin.
- Stick. Select the stencil you want to use. Peel off the protective film. Cut out the ring design. Peel off the backing. Stick the adhesive side to your skin.
- Apply. Remove the need from the henna cone (save this to reinsert later if you have leftovers) and make a few practice markings on a paper towel. Squeeze the henna over your ring stencil.
- Fill. Use one of the wooden spatulas to spread out the henna paste. Make sure it goes into every corner of the stencil and is at a level height to produce an even color.
- Dry. Allow your henna to dry for at least 2 hours. You can wait up to 12 hours for the darkest henna tattoo color.
- Remove. Peel off the sticker stencil. Apply coconut oil to soften the remaining henna paste and wipe it off with a paper towel.
- Intensify. Protect your henna tattoo from water for 4 hours and allow it to darken for 24 hours. It will turn from an orange color to a rich brown.
- Flaunt. Show off that bling! Everyone wants to see your new ring henna, especially us. Tag us on Instagram @mihenna.bodyart

Henna Ring Styles
We’ve designed a variety of different styles for you to mix and match in order to create your unique look. You can use one stencil at a time or grab different rings each. There’s no wrong way to create your art, especially when you are your own canvas!
Elegant Henna Ring Designs
For those who like the finer things in life, we’ve included some gorgeous and best selling stencils that will help you create henna jewelry fit for a queen.
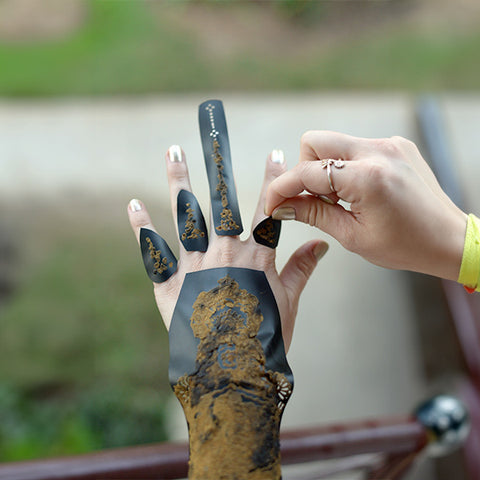
The Radiant Henna Stencil serves as another elegant look in our henna tattoo kit. These henna rings will be your crowning achievement as they perch on your fingers. The bold style lends itself to anyone who is going for a dramatic and magnificent look. With five individual stencils, you can deck out your whole hand or choose to emphasize just one digit. You can’t go wrong.
Minimalist Henna Ring Designs
If you’re feeling more subtle and chic, check out our more lowkey henna rings. These stencils will complement any style without stealing the spotlight.
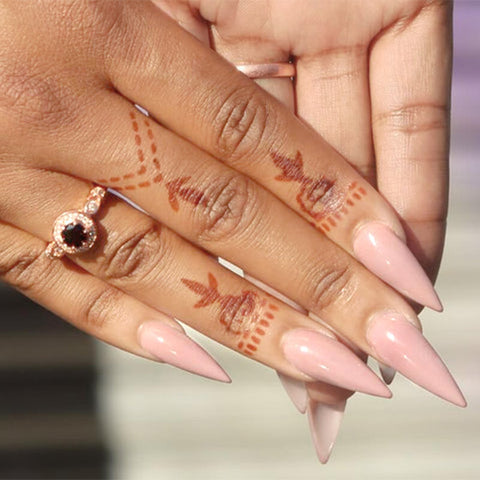
The Fauzie Henna Stencil uses stripes instead of spots to create accent henna rings that go beautifully with the larger geometric design in the stencil. This design is smaller than others which allows it to work as henna toe rings as well. Try it wherever you’d like!
Floral Henna Ring Designs
No henna design would be complete without a little fun in the sun. And you know what sunshine brings? Flowers!
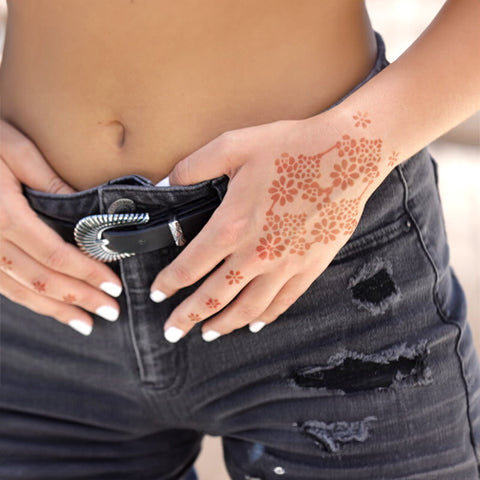
The Flower Power Henna Stencil adds a whole new style to our Ring Henna Kit. This back of hand henna tattoo design includes multiple little flowers to serve as embellishments for your fingers. While we suggest placing them along your middle finger, you’re free to cut apart the stencil and reorganize it to fit with your own style.
Variety Henna Ring Designs
You've got to have it all, and we know just how you feel. We've made these henna designs so that you get a little bit of everything. FOMO be gone!
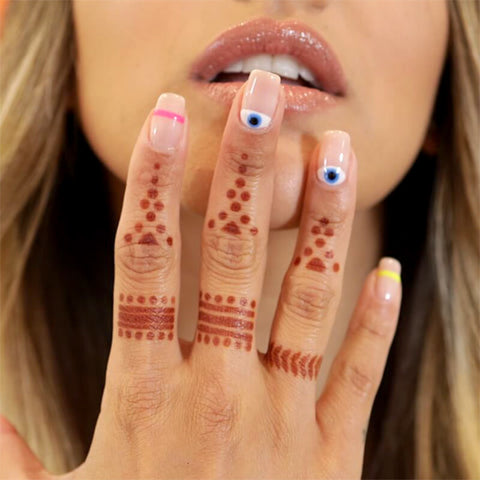
The Wren Henna Stencil features 3 different types of henna ring designs as well. Taking the more subtle approach, it reimagines the rings from the Fauzie Stencil in various styles. So if you liked that one, you’ll love these new henna rings. And you can create them with ease when you get all your henna supplies from Mihenna.