If you love henna art the way we do, then learning to become a henna artist must be on your todo list. We’ll help you get there by starting with the basics.
How to Become a Henna Artist: For Beginners
Know Your History

Learning henna for beginners starts with the foundations. Brush up on the history of henna, especially if you’re not part of the originating culture. Foundational knowledge is essential to ensuring you are contributing to cultural sharing.
Here’s a list of fun facts to get you started:
- Henna has been around since 3,000 BCE!
- Henna paste is made by crushing the leaves of the desert plant Lawsonia inermis
- Henna started as a personal temperature cooling method
- Henna art styles are unique to different regions
- Henna can be used on skin, hair, and fingernails!
Find Your Style

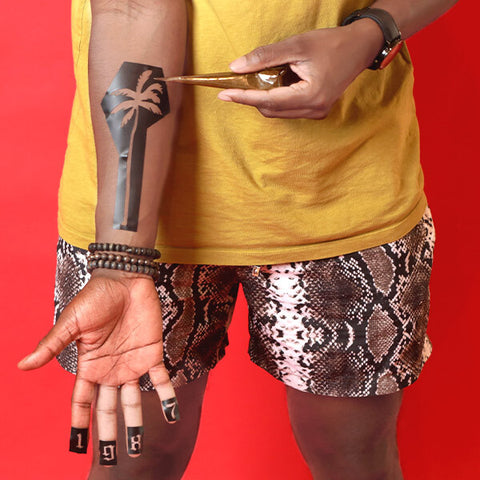
Henna body art lets you express your personal taste while still holding on to an ancient art. Mihenna makes it easy to explore different styles.
- Traditional henna tattoo stencils use design elements that have been around for centuries and are much more intricate than others.
- Floral henna tattoo stencils convey a popular Indian style of henna art that is especially popular during wedding season.
- Geometric henna tattoo stencils invoke the art of Morocco with bold designs.
- Mandala henna tattoo stencils are popular throughout the world and are steeped in spiritual meaning.
- Modern henna tattoo stencils are just for fun and bring trendy designs to an ancient art.
Get a Feel for It
If you are a beginner looking to become a henna artist, start with ready-to-use henna paste and prepared designs to make sure you don’t make a smudge. You’ll learn about placement of different henna tattoos, how much pressure to apply to the henna cone, the right amount of dry time for your skin type, and techniques for maintaining long-lasting henna stain.
We’ve put everything you need to get started into our convenient henna tattoo kits. You don’t have to worry about forgetting anything. We’ve included:
- Ready-to-use, organic henna paste
- 8 henna stencils in various styles
- Coconut oil for aftercare
- 1 instructional booklet with illustrated steps
Henna designs are created by applying different amounts of pressure to the cone. An alternate option - that requires less focus to make thin lines - is to use a henna applicator bottle. You'll get two bottles and 16 tips that produce a variety of thicknesses. It's not only easier, but you'll be able to create more intricate designs as well!
Practice Makes Perfect

The old, familiar adage still rings true. After you’ve practiced with henna stencils, you’re ready for freehand designs. We recommend our Henna Freckle Kit for, yes freckles, and also freehand henna! The kit contains a pre-made henna cone and coconut oil for moisturizing your henna tattoos.
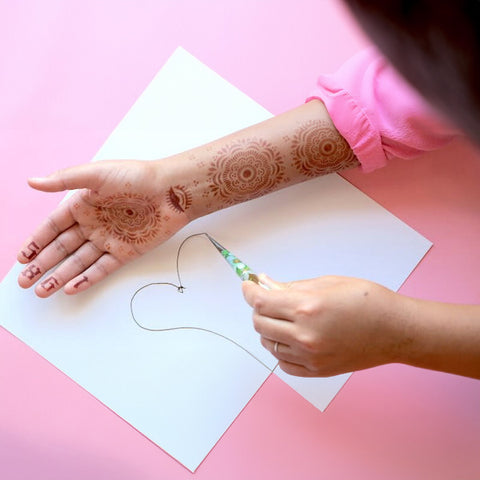
If you’re not confident about wearing your designs just yet, practice on a piece of paper. You’ll get all the practice and none of the commitment. If you make a mistake, it is possible to remove henna stains, but it will take time. Becoming a henna artist makes for a perfect quarantine activity.
DIY It

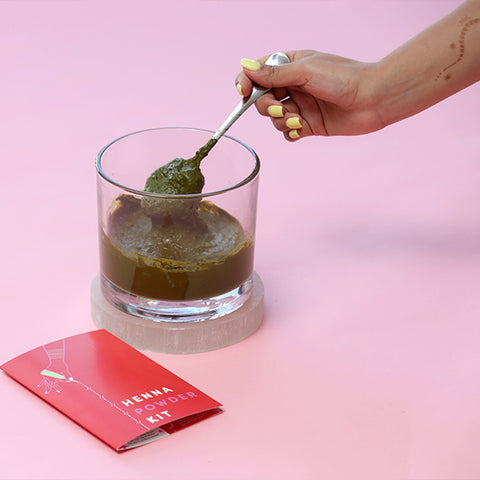
With fresh henna paste and your own custom designs, you are truly a henna artist. The world is your canvas! And Mihenna will be with you every step of the way.When you’re ready to take full ownership of the henna making process, it’s time to upgrade to the Henna Powder Kit. You’ll learn how to make your own henna paste from scratch. After combining the ingredients, watching them set, and divvying up your newly made paste into applicator bottles, you can look with pride at your creation.
With fresh henna paste and your own custom designs, you are truly a henna artist. The world is your canvas! And Mihenna will be with you every step of the way.
