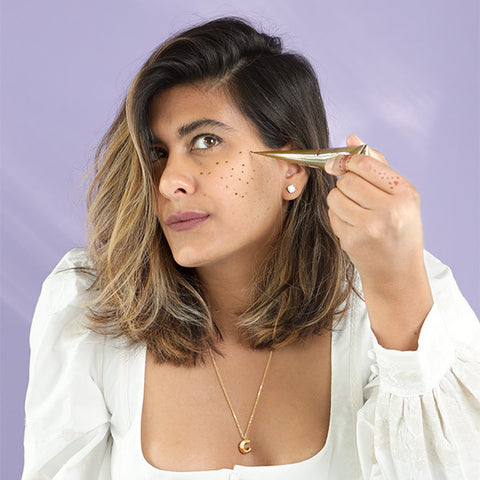
Our collection of henna tattoo kits is growing with the introduction of our new Henna Freckle Kit. We know how much you all loved Natalia’s video as she created fake freckles with our organic henna paste, so we wanted to put together a special freckle kit just for you. Let’s get to know it a little bit.


All-Inclusive Henna Tattoo Kit
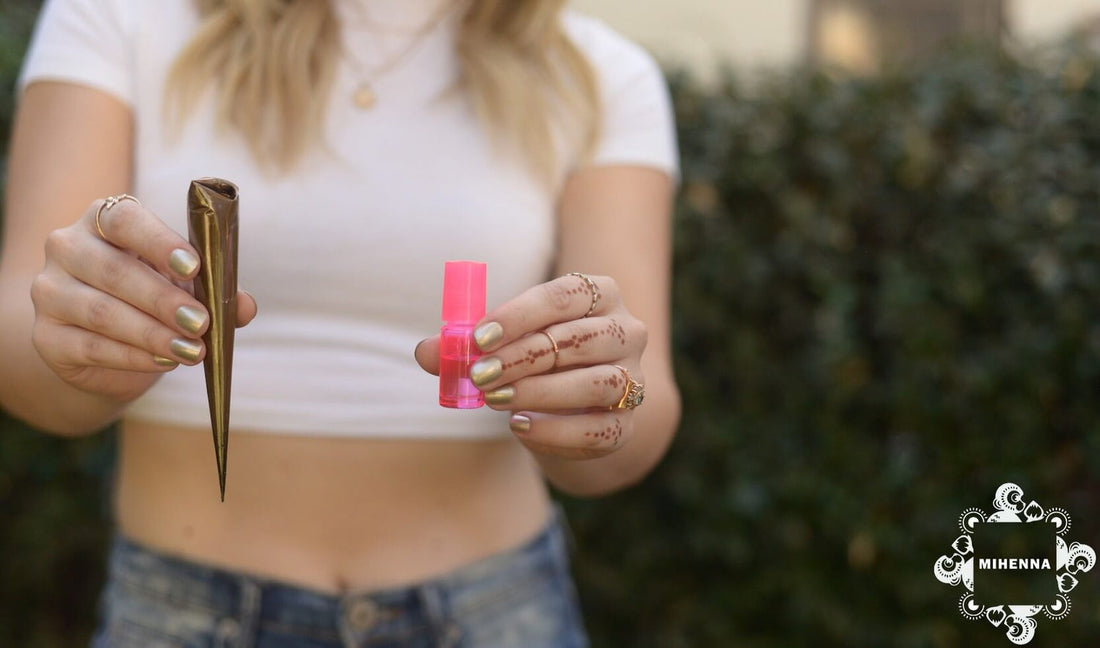
Like all of our other henna tattoo kits, we’ve included everything you need for the best possible experience. In order to create your own henna freckles, you’ll need:
- Our organic, ready-to-use henna paste
- Our moisturizing coconut oil
- Our handy booklet of instructions
We want you to look and feel like a gorgeous summer babe every time you use our Henna Freckle Kit, so we make sure our products are of the highest quality. Our henna paste is made in small batches as orders come in and only from organic ingredients: Indian henna powder, distilled water, eucalyptus oil, sugar, and guar gum. This combination goes on smooth and stains with a rich brown color that can last for weeks when you use our coconut oil for after care. The vial of coconut oil keeps your skin moisturized for long-lasting henna tattoos.
How to do Henna Freckles

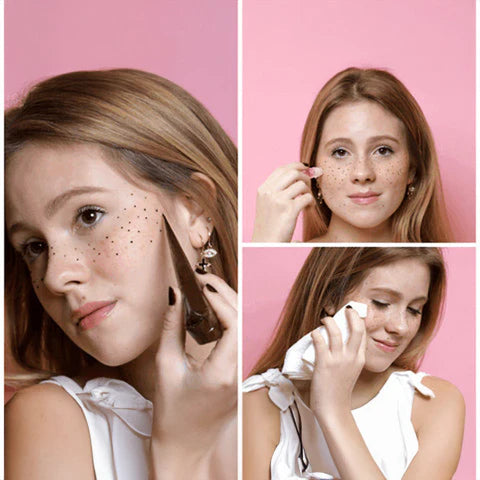
Henna freckles are as easy to apply as they are cute! The instructional booklet in The Freckle Kit provides a simple step-by-step process to follow along with some super secret tips for an extra chic look. Here’s a sneak peek at those steps:
- Practice makes perfect! Use a piece of paper to test out different sizes and shapes of dots.
- Start with a clean canvas. Wash your face and tie back your hair.
- Location, location, location! Use the henna cone to create small dots across your nose, cheeks, and anywhere else you want a little fake freckle.
- Dry time. Leave the henna dry for at least 2 hours or even longer for a nice dark color.
- The big reveal! Use the coconut oil and a paper towel to remove the dried henna paste and show off your new freckles.
It’s as easy as that! Mihenna helps you save time and mess.
Try Freehand Henna Tattoos

Just because it’s called a Freckle Kit doesn’t mean you’re limited to only henna freckles. This kit is the perfect opportunity to experiment with freehanding your own designs for henna tattoos. You’ve got everything you need with the DIY henna freckle kit’s henna paste and coconut oil plus your creativity and inspiration. You are your own canvas.
If it is your first time trying freehand henna tattoos, there might be some mistakes here and there. Just wipe the henna paste up quick before the stain has a chance to set in. But maybe you don’t notice the error until it’s too late or you want to know how to remove henna stains from fabrics, then check out our super secret, publicly-available henna tips for these answers and more. If you’re feeling a bit nervous about attempting your own design, grab one of our henna stencils as a backup. Then no matter what, you’ll end up with a beautiful henna tattoo to compliment your newly freckled nose.
