At Mihenna, we’re all about creative uses for our products. We’ve already taken you through how to dye your hair with henna, but what about dyeing your eyebrows to match? The process is a little different, but never fear! Your besties at Mihenna are here!
Just like henna for your hair is safe, natural, and long-lasting – so is henna for your eyebrows. With henna for your brows, you’re dyeing the fine hairs, as well as the skin, to create a more defined, rigid shape. If you think henna is the ideal choice for your brows, check out this how-to blog for a brief overview and a list of our top tips.
Dyed to Match

Depending on your original hair color, and the natural color of your brows, you might consider dyeing your eyebrows to ensure they match the freshly dyed hair on top of your head. In addition to making sure all your hair is the same color, henna for your brows will also define their shape better, making brow pencils and shading a thing of the past! If you find it hard or too time consuming to design and shape your brows with a pencil or even tweezers, henna could be the long-term solution you need. It’s one and done for two to four weeks – and even longer if you use essential oils during the process!
How-To Guide
- Our henna powder needs several hours for the dye to fully release and activate. You’ll need to prep your henna dye at least eight hours before you plan on doing your brows to ensure you get the deep, rich color you want.
- Like your hair, you want your eyebrows to be clean before you even think about applying henna. Wash out any product or makeup you have in your brows to prevent anything from getting in the way of the dye. Do not use henna if you have chemical dye on your brows!
- You should have tested a small area of your hair with henna to make sure you love the color. You don’t have to do the same with your brows, but you can if you want. We recommend waiting at least two days to let the color fully intensify before deciding to continue.
- Make sure your skin and clothing are completely protected before you get started. Wear older clothes you don’t mind staining, wrap a towel or shower cap around your hair, and use Vaseline to line the shape of your brows, so you don’t stain any extra areas. If you get henna near your eyes or mouth, flush with water right away.
Tools & Ingredients
- Cup Distilled Warm Water (You can also use fresh-brewed black tea)
- Glass Bowl
- Cling Wrap
- Plastic Gloves
- Spoon
- Shower Cap
- Vaseline (Any brand of jelly will work)
- Cotton Swabs
- Eyebrow Brush
Step-by-Step Instructions

- Prep about three tablespoons of henna powder in your bowl.
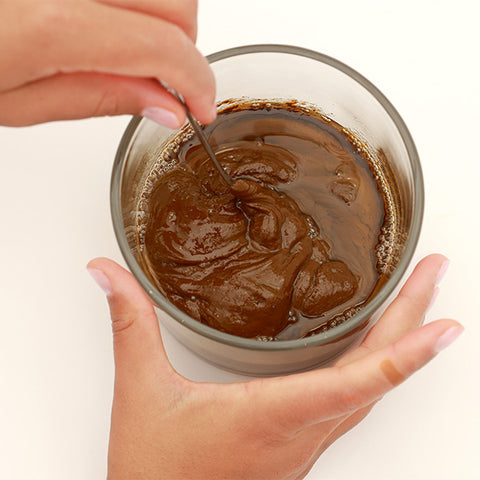
- Slowly mix in the warm water or tea until it creates a pudding-like consistency.
- Keep mixing until every clump is dissolved.
- Cover in cling wrap and let the bowl sit for 8-10 hours.
- Before applying the henna, put on your gloves and shower cap.
- Line the shape of your brows with a heavy coat of Vaseline.
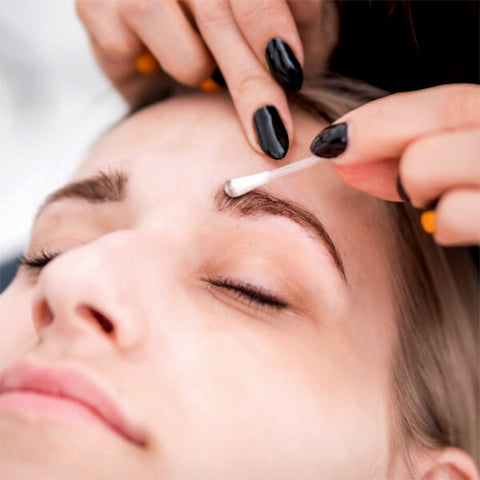
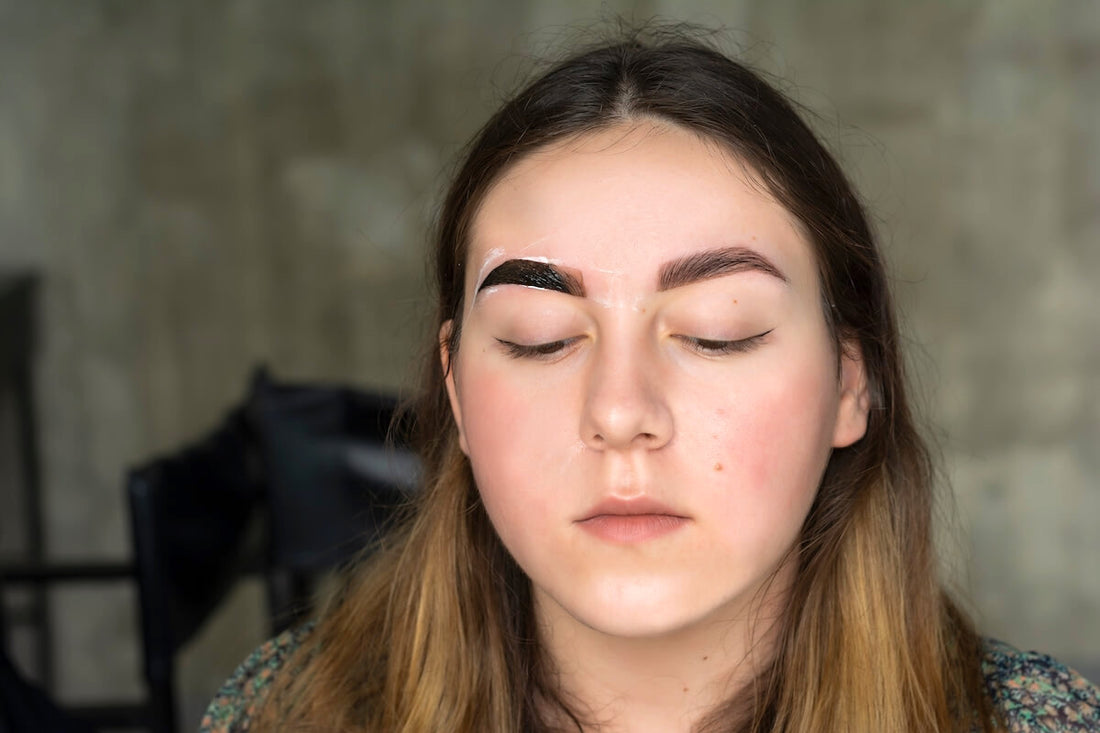
- Using a cotton swab, apply a thin layer of henna paste to your brows.
- Gently comb with your brow brush it to fill the area.
- Optional: Apply essential oils to make the henna last longer.
- Wrap your brows in plastic wrap to keep the henna protected.
- Wait three hours before rinsing the henna from your brows.
- Do not use soap. Simply keep washing until the water runs clear.
You can expect your brows to start darkening right away, but they won’t reach their full color for another 24 hours.
Top Tips
While we gave you the basics up top, we still have a few more important notes before you get started!
- We never recommend using pre-mixed henna for hair dye. Always mix your own from our USDA-certified organic powder, skipping out on any acidic additives.
- If you feel like your brows aren’t dark enough after your first session, you can do another layer, but wait for at least 72 hours to allow the henna color to fully mature.
- Always keep the henna paste away from your eyes. Do not use the paste on your lashes! If you get henna in your eyes, flush with water right away.
Finally, use these tips to get the most out of henna for your brows:
- Do not use fake tanner within a week of doing your brows
- Don’t do your brows the day before an important event
- Don’t use potent cleansing or exfoliating products around your brows after application
Brows by Mihenna
At Mihenna, we want you to have a fulfilling and exciting henna journey. When you shop with us, you get access to more than just premade kits and stencils; we provide everything you need to ensure a complete henna experience, including informative blogs, a huge Q&A, and live support from our friendly team!
If you need any additional info regarding using our henna products, don’t hesitate to get in touch today!

2 comments
Hi, how do I wrap eyebrows I’m saran wrap?
What essential oils do you recommend? And when do you add them: To the mixture during the 8 hour process, at the end, or after you remove the mixture from the brow?